Onboarding
The onboarding wizard prepares an installed Echo for first use. It appears automatically on the first launch after you sign in, and you can schedule it again from Settings → About → Onboarding → Reset; the wizard then reappears on the next launch of Echo.
The wizard runs in its own window and every step explains what it changes before you continue. You can close and reopen Echo between steps: the wizard resumes at the step you left.
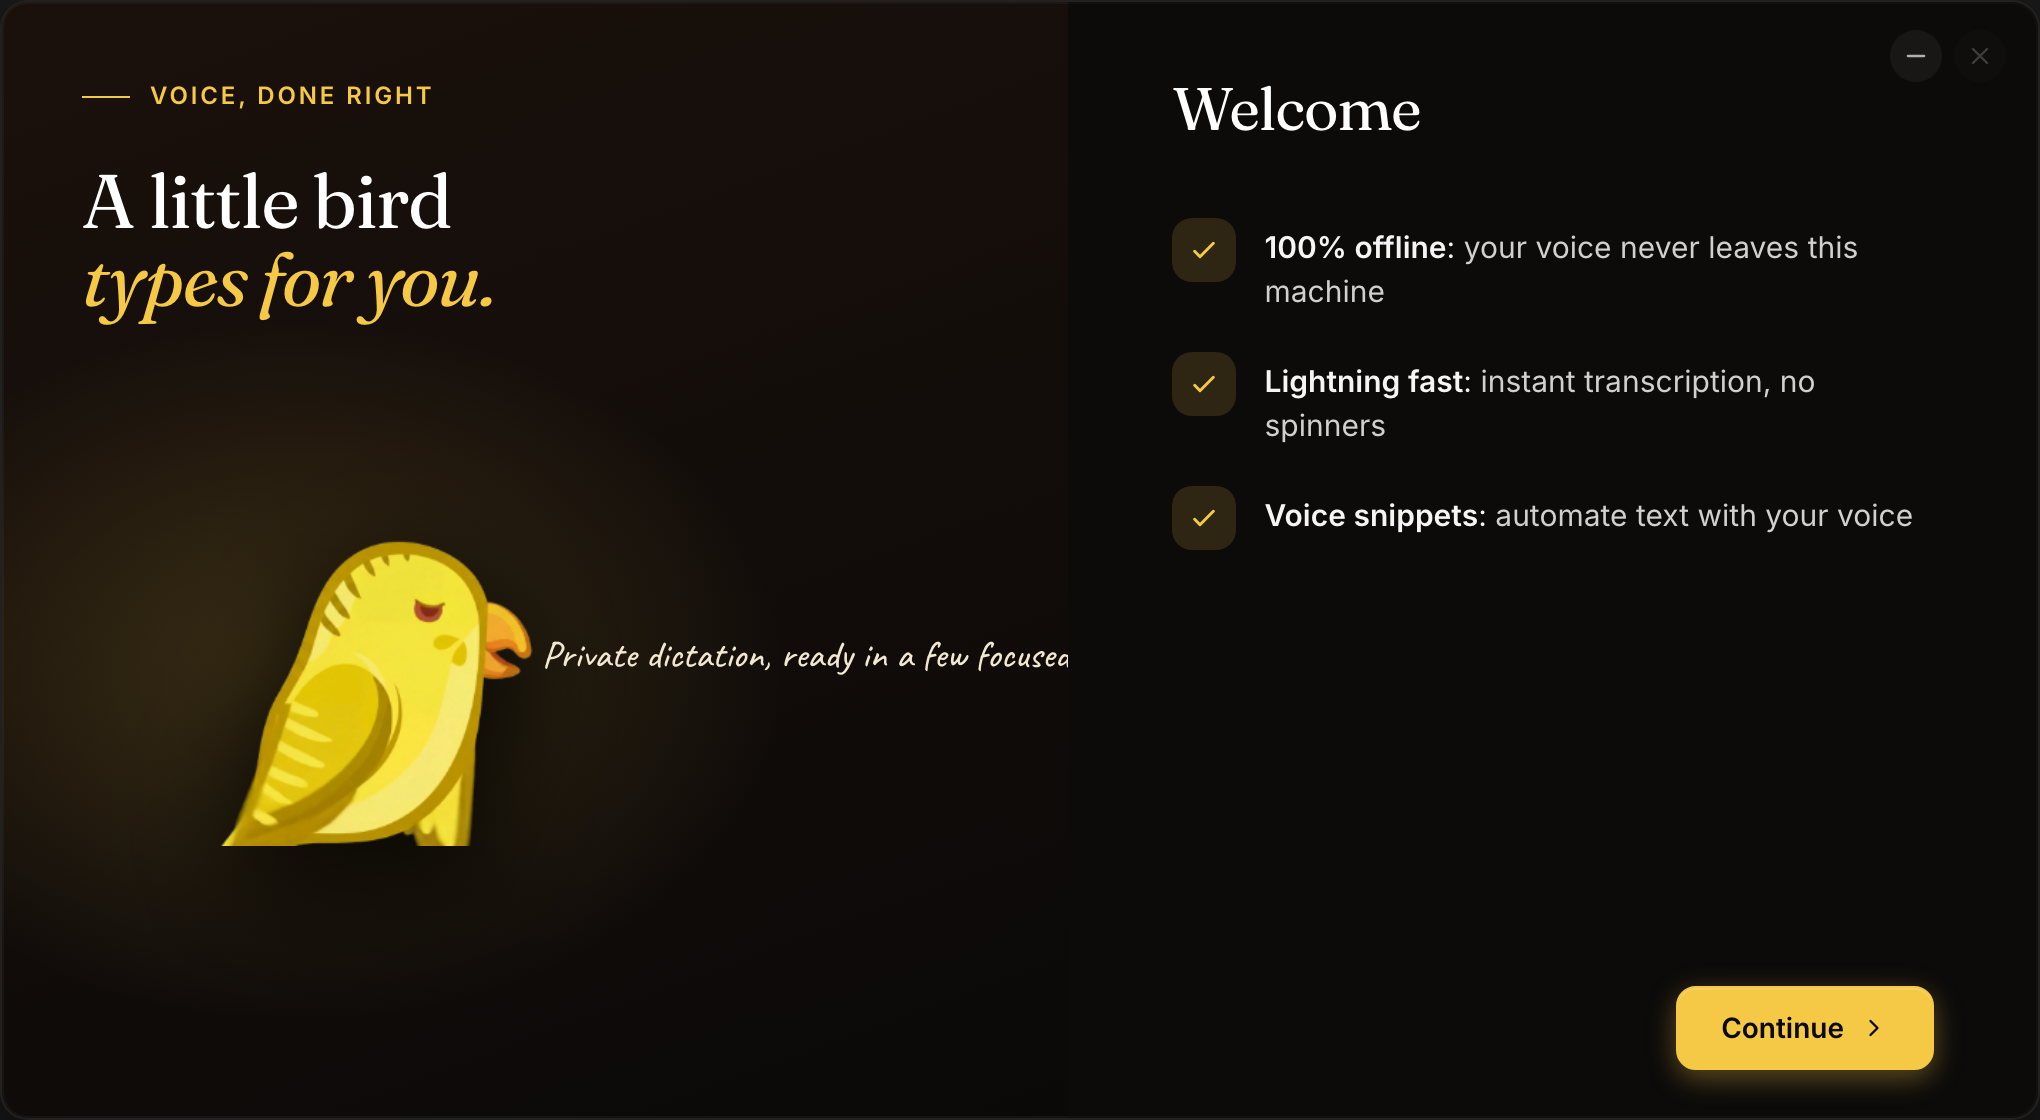
The steps in order
- Welcome — a short summary of what Echo does: fully local dictation, fast transcription, and voice snippets for automation.
- Language — choose the interface language and the default transcription language. The interface language can be changed again later under Settings → App → General.
- Shortcut — pick the Recording Hotkey you will use every day, or keep the default. If another application already owns the combination, Echo tells you the shortcut could not be registered and asks you to try another one.
- Microphone access — Echo requests microphone permission. Recording cannot start until the operating system grants it. This step also shows the Keychain status used to store your encryption key. Microphone access is the only permission that blocks continuing.
- Microphone — choose your audio input and output devices and run a short test recording so you can confirm the level before relying on it.
- Transcription — Echo recommends a local speech-to-text model for your hardware tier. Download the recommended model, or pick another from the catalogue. The download must complete before you can continue.
- Cleanup language — download at least one cleanup language for BudgieScribe, the local post-processing that fixes punctuation, capitalization, and common recognition mistakes. Ticking a language downloads it immediately; at least one is required.
- Personalization — turn on Read the active window (transcription context), Copy automatically, and, on direct-distribution builds, Paste automatically. Granting macOS Accessibility is offered here when a chosen feature needs it.
- Text to speech — enable spoken feedback now or keep Echo silent, and choose between the system voice and a local neural voice where available.
- AI and workflows — choose the provider used for post-processing and workflow text work. Cloud processing is optional and clearly identified; audio transcription stays local either way. This is the only step with a Skip for now action.
- Analytics — choose whether Echo sends anonymous usage analytics. Audio, transcriptions, and personal content are never part of analytics, and you can change the choice later under Settings → App → Privacy.
- First dictation — the wizard shows your shortcut one last time and explains the real first test: put the cursor in any text field and use the shortcut.
The Back and Continue buttons move between steps. Steps that are not ready explain exactly what is missing — for example "Download {model} to continue".
Finishing and the first tutorial
The final Take flight action plays a short fly-away animation, marks onboarding complete, and opens the main popup. Echo then starts a first-visit tutorial that points at the popup's main controls. The tutorial can be replayed or disabled through Show feature tips under Settings → App → General.
Re-running the wizard
Settings → About → Onboarding → Reset schedules the wizard to appear on the next launch. This is a setup guide, not a data reset: it does not delete history, models, workflows, or settings. See Diagnostics before sharing any state during a re-run, and continue with Getting Started if you are setting Echo up for the first time.