Getting Started
This guide takes you from installation to one completed local transcription. Echo currently supports macOS and Windows.
Download and install
Download the current desktop build from gobudgie.com/download, or install the Mac App Store edition if that is where you obtained Echo. On Windows, use the Windows download supplied by Budgie.
Open Echo after installation. The first-run guide lets you choose interface and transcription languages, inspect the recommended speech-to-text model, and set the recording shortcut. You can schedule the guide to appear again on the next launch from Settings → About → Onboarding → Reset. The complete step list is described in Onboarding.
Sign in
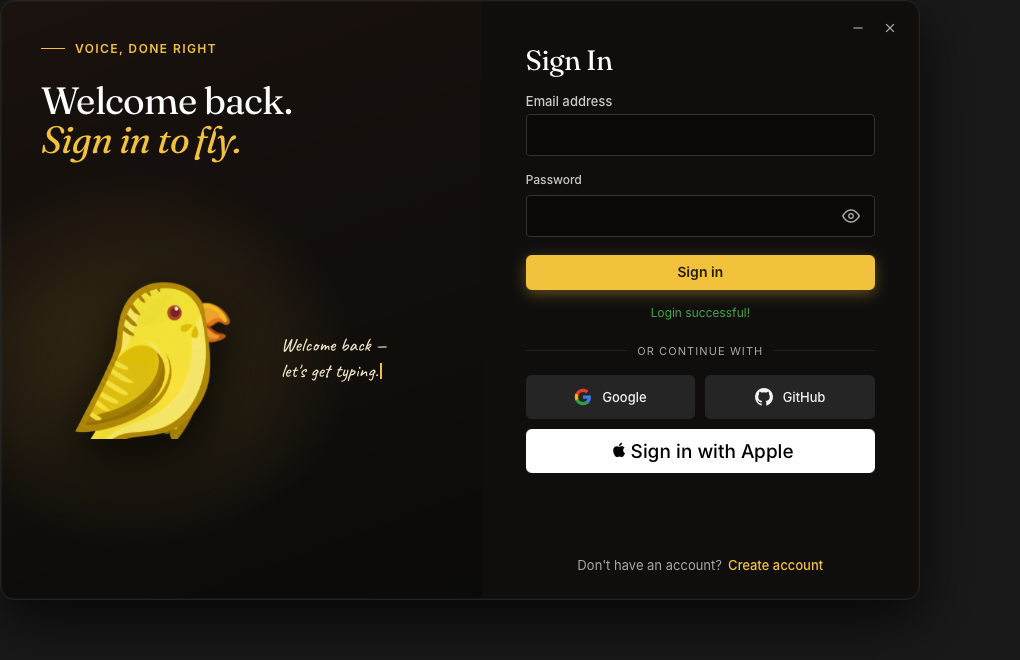
Sign in from the Echo prompt or from Settings → About → Account. Echo refreshes the account's licence and local-transcription balance after sign-in. If Echo cannot confirm an active licence or current credit data, transcription remains unavailable until the account state is refreshed.
Grant operating-system permissions
Allow microphone access when the operating system asks. Echo needs an available audio-input device to record.
On macOS, Auto paste also needs Accessibility permission so Echo can issue the paste command. When that permission is missing, Echo keeps the text on the clipboard and exposes controls in Settings → General to grant the permission or open System Settings. The Mac App Store build accepts keyboard recording shortcuts only; mouse-button activation is unavailable there.
On Windows, check Settings → Privacy & security → Microphone if Echo cannot receive microphone input.
Download and select a transcription model
Open Settings → Transcription → Local Models.
- Choose a local speech-to-text model from the catalog.
- Select Download and wait for its progress to finish.
- Select the downloaded model. Echo marks the active model as Selected.
A downloaded, selected local model is a prerequisite for recording and for Always-on listening. Larger models may improve accuracy but require more storage and compute.
Set the recording shortcut
Open Settings → General → Keyboard Shortcuts and set Recording Hotkey. The current default configuration is Ctrl+Shift+Space, but the value displayed in your installation is authoritative.
Leave Push to talk off to press once to start and again to stop. Turn it on to record only while the shortcut is held. The direct-distribution build can register keyboard or supported mouse-button bindings; the Mac App Store build is keyboard-only.
See Keyboard Shortcuts for the related limitations and pause control.
Complete your first transcription
- Place the cursor in the application where you want to use the text.
- Use the recording shortcut. Echo enters the recording state and shows the elapsed time.
- Speak normally, then stop with the same shortcut or the popup's Stop action.
- Wait while the popup shows the processing state.
- In the result state, use Copy to clipboard, Close (which copies and closes), or an available workflow.
If Auto copy to clipboard is enabled, Echo copies the completed result automatically. If Auto paste is also enabled and the operating-system permission is available, Echo attempts to paste it into the active application.
Access and Licensing
The free account type receives 60 minutes of local transcription per monthly allocation. This value matches the gateway's current 3600-second monthly seed and the current website product copy. Echo displays the remaining local minutes under Settings → About → Account; use Refresh Credits there to refresh the balance.
Purchase, update, and restore behavior depends on the build:
| Build | Purchase and licence | Updates | Restore |
|---|---|---|---|
| Direct web build | Settings → Upgrade opens pricing on gobudgie.com; sign in with the purchasing account so Echo can refresh its licence. | Settings → About → Check for updates downloads and installs direct-distribution updates. | There is no App Store restore action. Sign out, then sign back in with the purchasing account to make Echo refresh its licence. Refresh Credits refreshes the usage balance only; it does not refresh the licence. |
| Mac App Store build | Settings → Upgrade lists StoreKit products and completes the purchase inside the app. | Updates are delivered through the Mac App Store. | Use Settings → Upgrade → Restore purchases with the Apple ID that made the purchase. |
For recording behavior after activation, continue to Recording and the Popup.